


Anyone getting started with the Creality Ender 3 V3 KE will immediately notice that this compact printer packs quite a punch. Yet, top performance does not come by itself. You start with a stable surface: place the printer on a vibration-free desk and check that all screws are hand-tight. A steady setup prevents micro-vibrations in the Z-axis and lays the foundation for consistent layer lines. Checking for loose bolts before each session extends the lifespan of your Creality Ender 3 V3 KE and prevents unexpected artifacts in the model.
Precise motion calibration
The stepper motors of the Creality Ender 3 V3 KE are calibrated at the factory, but small deviations can occur after transport or prolonged use. Therefore, measure the actual displacement in the X, Y, and Z directions with calipers and adjust the steps-per-millimeter in the firmware. Do not forget the extruder in this process: a correct number of steps guarantees even filament feed and prevents under- or over-extrusion. Half an hour of calibration often yields visible gains in layer adhesion and dimensional accuracy.
Choosing filament and keeping it dry
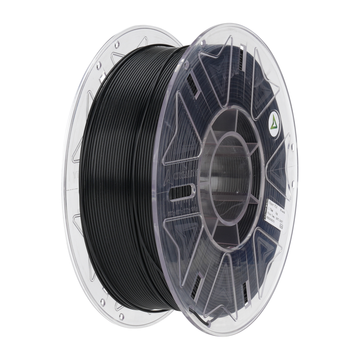
Even the best printer will perform poorly with damp material. Store your spools in a sealable box with silica gel, especially if you use PLA+ or hygroscopic PETG. The Creality Ender 3 V3 KE has a strong direct-drive extruder that can handle many types of filament, from flexible TPU to stiffer ABS. Nevertheless, a constant diameter—preferably ±0.02 mm—remains crucial. AC PRODUCTS tests every batch for tolerances so you can grab the right spool for delicate prints with confidence.
Bed leveling and first-layer adhesion
A well-leveled bed is more than just a formality; it determines whether the first layer grips or shifts. Use the included ABL system or perform manual leveling with a feeler gauge. Then, set the nozzle temperature and bed heat to the manufacturer's recommended values. For PLA, 200°C for the nozzle and 60°C for the bed are often perfect, but experiment in small 5°C increments. The Creality Ender 3 V3 KE is sensitive to minimal adjustments, which you will quickly notice by the mirror-smooth surface of the bottom layer.
Firmware optimization and slicer profile
Creality provides the Creality Ender 3 V3 KE with stable firmware as standard; however, you can get more out of the machine by enabling input shaping and linear advance. This reduces ghosting and results in sharper corners. In the slicer, it is best to use a 0.2 mm layer height for fast prototypes and 0.12 mm for visual work. Save your settings as a personal profile; this ensures nothing is lost during a software update and allows you to reproduce what worked well previously.
Small hardware upgrades with big impact
If you want to take the step toward consistent pro-quality, a single targeted investment will suffice. Many users install a printed fang duct, metal bed springs, or a PEI flex plate. Thanks to the open design of the Creality Ender 3 V3 KE, you can install these in less than an hour. A brief summary of popular tweaks:
- PEI-coated flex plate for effortless print removal
- Silicone bed mounts for a stable Z-offset
- Dual Z-motor kit for taller prints without wobbling
With every component, you improve a bottleneck while keeping costs limited.
Periodic maintenance and troubleshooting
Replace the PTFE feed tube every three hundred print hours and clean the extruder gears with compressed air. If you suddenly hear clicking during extrusion, check whether the ball bearings are spinning freely and if your filament is dry. The Creality Ender 3 V3 KE displays error codes on the screen for thermal drift or bed sensor problems; do not ignore these. A quick diagnosis prevents frustrating failed prints and saves material. Keep a logbook of tweaks and solutions so you do not have to puzzle through them again for the next project.
Utilizing advanced features
The quiet stepper drivers of the Creality Ender 3 V3 KE make it possible to print at night without disturbing noise. Via Wi-Fi modules such as Creality Box or OctoPrint, you can control the printer remotely and keep an eye on progress with a webcam. Activate timelapse recordings for quality control and share successful prints with fellow makers. By combining remote monitoring capabilities with automatic filament sensors, you build an almost autonomous print station—ideal when you want to produce multiple prototypes in a single batch.
Summary: Print more, waste less
Those who view their Creality Ender 3 V3 KE as a precision instrument rather than a "set-and-forget" device will find that every hour of preparation pays off in scratch-free, dimensionally accurate objects. From calibration and dry filament to smart upgrade modules: it is the small steps that combine to yield a professional result. AC PRODUCTS supports you with tested material, practical profiles, and sound advice. This way, you utilize the full potential of your printer and need to re-print or sand down parts less often.


Leave a comment