


The first prints are often magical and brutally honest. You see immediately what went well in your design and what could be improved in the settings. That is precisely why a 3D printer for beginners is so educational: every layer tells you something. But let’s be honest, in the initial phase, habits can quickly creep in that later cost time, material, and energy. In this guide, AC PRODUCTS helps you recognize and avoid those pitfalls so you can move from “it works sometimes” to “it works every time” faster.
Why beginner mistakes are almost inevitable (and why they are useful)
New users understandably want “pretty and fast” right away. Yet the machine demands two things from you: consistency and patience. A 3D printer for beginners is not a black box; it is a series of logical steps that reinforce each other: mechanics → first layer → temperature & cooling → slicer profile → material discipline. If one step is messy, every subsequent step amplifies the problem. Good news: the same works positively, too. Set the foundation properly, and you will immediately see more predictability without exotic upgrades or endless tuning.
Mechanics and first layer: Where reliability begins
Before you turn any knobs, check the frame, the belts, and the bed. Is the machine stable, are the axes smooth, and is the bed clean and grease-free? Only then should you level it. Keep it pragmatic: bed at operating temperature, adjust Z-offset carefully, first layer slightly slower and a touch warmer. Do you see a shiny, continuous strip without ridges? Then you’re good to go. Especially with a 3D printer for beginners, the first layer deserves your utmost attention; a perfect foundation prevents warping, saves material, and makes the rest of the print… boring. And that is exactly what you want.
Material choice: Start simple, build from there
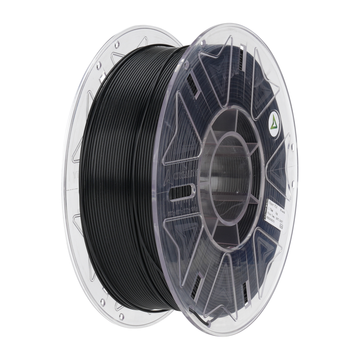
Start with PLA. It is forgiving, hardly smells, and prints at lower temperatures. Store rolls in a dry place (box + desiccant) and note the “recipe” for each roll: nozzle and bed temperature, cooling, speed. If things get more complex (functional clamps, outdoor use), expand to PETG or ASA in a controlled manner, but never change everything at once. A 3D printer for beginners thrives on one fixed workflow per material. This way, you know whether a mistake comes from the filament, the environment, or the profile.
The only checklist you need
- First layer = king. Bed warm, degreased, Z-offset with care. It is better to be slightly too high and try again than to scrape the bed.
- Orientation for infill. Place load direction perpendicular to layer lines; more perimeters often yield more strength than 100% infill.
- Cooling with care. High cooling for PLA bridges, less for high layers or materials that crack easily.
- Realistic speed. Only increase speed if the previous print was already flawless. Speed amplifies what was already skewed.
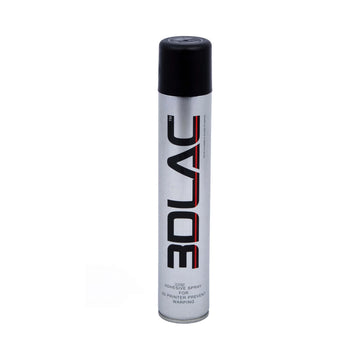
- Choose the right build surface. Glass for smoothness, build sheet/PEI for grip. Use adhesive sparingly and consistently.
- One change per test. Never change temperature, speed, and cooling at the same time; you won’t learn anything from the result.
- Logbook. Note roll number, profile, and details. The next print will then “know” what the previous one discovered.
Troubleshooting without guesswork
Suppose the corners are lifting. First ask yourself: is the first layer wide and uniform? If not, fix that. If it is good, then look at bed temperature and drafts; wind is the hidden enemy. Do you see stringing? Consider high temperature, insufficient retraction, or damp material. If a bridge loses shape, increase cooling or decrease speed along that section. Test with small “coupons”: a bridging test, a tolerance block, an L-profile. Within an hour, you will have concrete evidence instead of hunches. For a 3D printer for beginners, this is the fastest learning curve: small tests, big lessons.
Safety and maintenance: Minutes of work with great effect
Keep the nozzle clean, periodically check belt tension, and listen to the bearings. A squeak or click is not “character” but wear or dirt. Replace a brass nozzle in time (especially with composite materials: use hardened steel instead). Ventilate the room, do not touch hot parts, and shield the machine in busy environments (children, pets). A 3D printer for beginners also deserves a fixed maintenance routine: five minutes after every print and fifteen minutes per month will save hours of troubleshooting.
Project thinking: From sketch to component without noise
Start every project with the end-use in mind: what must the part withstand (tension, bending, temperature), how will it be mounted (screws, clamps, glue), and what tolerance is acceptable? Only then should you draw it and choose the profile. Export consistently (same scale and units), slice with your fixed presets, and print a shrunken or “critical segment” prototype first. This prevents burning through half a roll on a guess. Especially with a 3D printer for beginners, this is the difference between frustration and flow: one small, conscious step at a time.
When upgrading makes sense (and when it doesn’t)
Upgrades are tempting, but ask one question: what problem am I solving with this? A hardened nozzle for abrasive materials: yes. A better part-cooler if you do a lot of bridging: often useful. A completely different hotend “because you can”: only if you consistently hit temperature limits. Let the machine save you money and time with what you already have; a 3D printer for beginners only becomes “advanced” through your routine, not through the accessory list.
AC PRODUCTS: From unboxing to predictable output
You don’t want a hobby project that demands attention every weekend; you want a production tool that does what you tell it to. AC PRODUCTS helps you with a starter kit (printer, basic tools, PLA rolls), three proven profiles, and short, clear instructions for the first layer, material changes, and error diagnosis. We can provide test coupon files and a simple logbook template if desired. This way, your 3D printer for beginners will grow into a silent force in your work process for prototypes, aids, and representative models in just a few weeks.
Finally: Choose method, not coincidence
The magic of 3D printing does not lie in the “luck” of a successful print, but in a predictable chain of small, correct choices. Set the mechanics tight, make the first layer your best friend, work with three profiles, change one thing at a time, and document what works. If you do that, your 3D printer for beginners will perform just as reliably as the pro machines, only with less hassle. Want to discuss the best set-up for your applications? AC PRODUCTS is happy to think along with you, from material selection to maintenance rhythm, so you can reach your results faster.


Leave a comment